
tEchNiQuE TuEsdaY
[Fun With Street Art]
From CreativeCollage
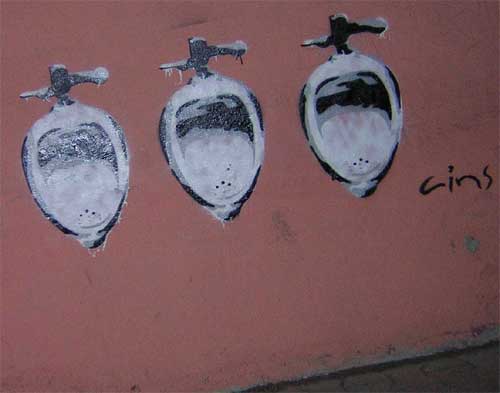
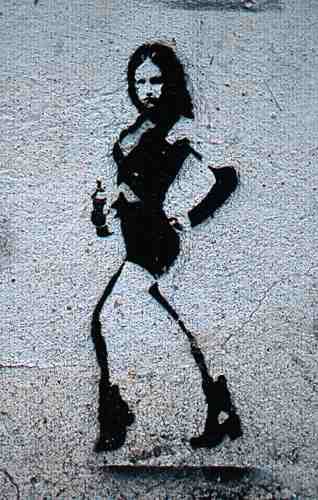
I have had so much fun integrating the artistic characteristics of Urban Street Art into my own art these past few weeks. I have come to respect Street Art as a dynamic form of artistic expression, many times representative of the socio-economic and political life where it is found...this genre of art can't help but make a statement! Street Artists, or "writers", make their bold artistic statements with vibrant colors and expressive images. Many of these images are either adhered ("wheat pasted") or they are stenciled onto surfaces and integrated into layers of colors.
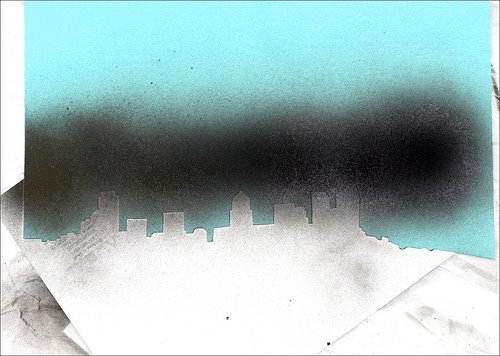
Custom made stencils are a huge part of the Urban Street Art process; most are created from photographic images or from hand-drawn designs. There are a number of websites that feature downloadable stencil images; one of the best I've found is Stencilry. I downloaded a very simple stencil from Stencilry to demonstrate this week's technique. The city skyline (see below) is a great stencil to work with because it can be cut with scissors if you're not comfortable using with a craft knife and it doesn't take alot of time to prepare.
Before showing the steps for this technique, I'm going to demonstrate something that I haven't shown before...my practice samples. I photographed my three practice samples so you could see that i don't just talk the talk, i walk the walk! This is one technique in which I really encourage you to practice before trying on your layout; it will only take you a few minutes using whatever stencil you'd like to use and a few scrap pieces of cardstock.
1st practice...with stencil in place
Notice that the heaviest part of the spray paint is at the top of the design...I started spraying above the cutting edge of the design because I wanted the paint to be the heaviest there and then i slowly moved the paint can down and lifted it away from the cardstock so the spray would become less concentrated and give me the fade i was hoping for.
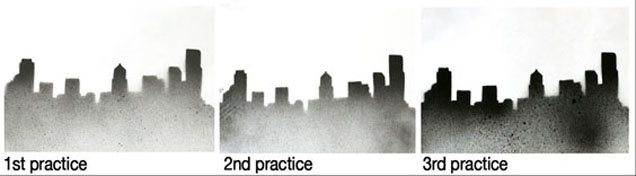
1st practice...pretty good for a first try; i achieved the fade I wanted, but i'd like the top of the buildings to be darker. I do like the dark spray spots that I got by holding the can a little close and putting only light pressure on the nozzle.
2nd practice...i kept the can a little closer to the cardstock and held it over the top area of the stencil just a few seconds longer which resulted in the darker coverage at the top of the buildings but I still want more coverage at the top of the buildings so I'm going to try it again and keep the can over that area a little longer. Also, I didn't get as many dark spray spots as i would have liked to so I will make sure to hold the can closer when applying light pressure.
3rd practice...PERFECT! The buildings are darker and I've got more of a contrast in the fade...I also played around with applying slight pressure on the nozzle to get more spray spots! Now I can spray onto my collaged background with confidence....and all it took was 5 minutes!
supplies:
cardstock
images (see stencil source above)
spray adhesive
spray paint (Krylon)
step #1. & step #2

step #1. Size and print stencil design onto cardstock
step #2. Cut stencil with craft knife
step #3. & step #4

step #3. Lightly spray back of stencil with adhesive and place over background
step #4. PAINT! I used spray paint here because I wanted to create a spray-paint fade with spotting...but you can use a sponge and acrylic paint or inks depending upon the look you want to achieve.
What I like about this technique is that there is room for imperfection...meaning that it doesn't have to be executed perfectly for it to look good. The lines don't have to be cut perfectly straight and the paint doesn't have to be perfectly applied for it to look good. I call these kinds of techniques in my book, "Perfectly Imperfect" because I like having the freedom to not feel like I have to do "perfect" all the time. And when I am unable to give myself the room to not do "perfect", these techniques encourage me to just let go and have fun...
hints:
- protect your surfaces from spray paint buy painting over a pile of tissue paper; I use it instead of newspaper because it's cheap, i can remove the top layer and throw it away, and i don't get newsprint on my hands which can easily smudge onto my artwork!
- notice how I combined the the techniques learned over the past two Technique Tuesdays (spray paint & high contrast images) with this week's technique...have fun and make it your own!!!
I will be posting more about custom-made stencils tomorrow, along with some great resources I've found on my art blog, The Crafty-Girl...


0 Comments:
Post a Comment
<< Home